


3 min read
Product Photography: How To Market Products With Photos [19 Pro Tips]

26 min read
When it comes to selling products online, there is power in pictures. On ecommerce websites, people can’t touch or feel your product. Words and photos are the only way to persuade people to buy.
Many people make the mistake of loading up low-quality images and wonder why page views and sales are stagnant.
Don’t make that mistake. People are visual. To sell online, you need images – but not just any ole image.
Note: You also need a robust eCommerce shopping cart to sell your products effectively. Schedule a free demo with one of our experts to discover how you can get your product photos displayed to your target audience the right way.
Marketing products with photography is an amazing opportunity you don’t want to miss. We’ve put together this product photography guide chock-full of tips. You’ll learn how to take product photos for an ecommerce business right way. We’ll show you how to shoot product photography, what equipment to use, and how to set it up.
We’ve also included tips from some of the top commercial photographers throughout this guide.
So, are you ready to start taking better product shots?
Chapter 1: Why Product Images Matter

Studies show that people can only recall 20% of the material that they read vs 80% what that they see. One site increased conversions 300% by simply having bigger, better product images.
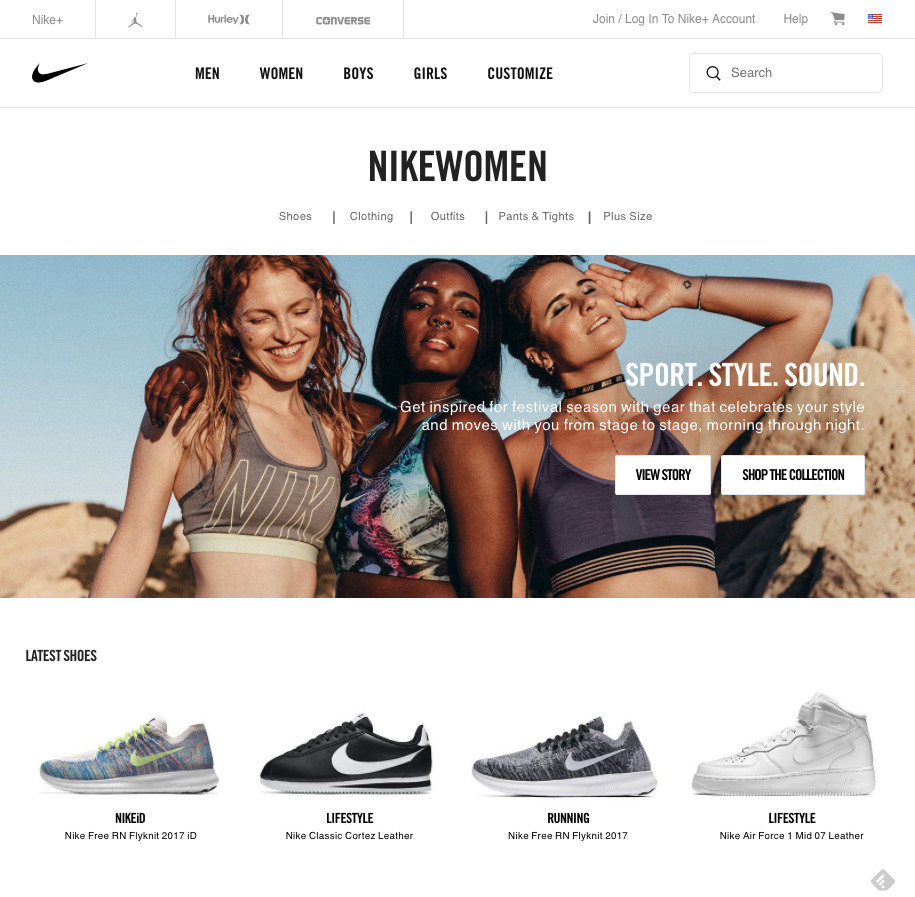
Naturally, the next question to follow is, “What makes a good picture?” The best product pictures are in sharp focus, brightly colored, and have great composition. When a buyer lands on your website, pictures immediately grab their attention. To entice them to buy, you’ll need large, clear images to showcase the product and lifestyle photos to connect with them on an emotional level.
Nobody does this better than Nike:
Product photos instill trust in your customers and prospects and they dramatically increase conversion rate.
The photos you create and use are instrumental in conveying your brand image.
Don’t just take my advice. Here’s what the top commercial photographers say about the importance of photography.
Resources
- How Product Image Size Impacts Value Perception
- How Images Increase Conversion Rate: The Complete Guide
- Better Image Selection Improves Conversion Rate by 40.18% for ExactTarget
Chapter 2: Photography Basics
In order to take great photos, you need a good camera. We will get into this a little later, but for now know that you don’t need a big, fancy digital camera to take incredible photos. You do, however, need to have a basic understanding of some of the functions, especially if you’re shooting for commercial photography.
Shutter Speed
This determines how fast the shutter opens and closes. For optimal results, select the fastest shutter speed that you can for your lighting. A shutter speed of 1/125 or higher will eliminate camera shake and ensure a sharp, focused photo.
Aperture
The amount of light the lens allows into the camera is controlled by the aperture, or f-stop. An opening in the lens controls how much light is allowed in the camera. As it widens, more light enters the lens and decreases your depth of field. For example, f/8.3 is a very small hole over the lens and is appropriate for very bright lights. At the other end, f/2.1 opens the hole wide to let light in and is appropriate for very low lit or dark environments. An f-stop of f/4.5 will blur the background, putting emphasis on the subject, A good way to remember how aperture works is to recall that the lower the number, the smaller the hole in the lens, and the less of your shot that will be in focus. A larger number means a larger hole and more of your shot in focus.
ISO
This determines the light sensitivity of your camera. The ISO range is huge, but typically people choose an ISO of 200 to 800 for direct natural light. The higher the ISO, the faster the shutter speed. However, a higher ISO also tends to produce grainy images so always try to keep it as low as possible. An ISO of 200 is standard with 400 indoors, and 800 often used at night or in the evening.
Exposure
The shutter speed, ISO, and aperture all play a part in how exposed a picture is, meaning how dark or light it will be. The aperture controls the amount of light enters your camera, shutter speed controls how long light can enter the camera (exposure), and ISO speed controls how sensitive your camera is to light. By making adjustments to each, you have more control to create beautiful photos.
White Balance
This helps to ensure that the colors in your photo are true to life. It does this by ensuring that what the eye sees as white will also be white in the photo. It determines how warm or cool it should be by using the light source’s color temperature. Some cameras do this automatically, but every photographer (whether beginner or professional photographer ) should learn how to control the color balance feature of their camera manually.
Types of Lighting
Lighting can make or break the picture. There are several different types including, indoor, outdoor, back lighting, front lighting, side lighting, overhead lighting, bounced lighting, and fill flash. Each serves a specific purpose. Of course, indoor and outdoor lighting is self-explanatory. Backlighting will remove shadows on the backdrop. Front and side lighting highlights certain features in the subject. A flash can pick up details of an object. It is not uncommon to combine lighting types in one shot.
Composition
The arrangement of the photo is composition. When taking pictures of a product, you can move things around until you get the result you want. Gain different perspectives by either moving the product in different positions or moving around it to get different angles.
Focus/Blur
When a picture is out of focus, it is blurry or not clear. Great product photos are sharp, clear and focused.
The technical basics of photography can go a long way, but good photography is more than the technical side.
Here’s some expert advice on marketing products through photography.
Resources
- Photography Basics: White Balance
- Digital Photography Basics: Adjusting Exposure
- Macro Photography Basics: Get Amazing Closeup Photos
- Photography Camera Shutter Speed Explained
- 30 common photography problems solved
Chapter 3: Photography Equipment
Your equipment is important for taking great product photos, but you don’t have to spend a bundle. Here is a quick guide for choosing product photography equipment.
Choosing A Camera
I am not a fan of camera phones or point-and-shoot camera for product images. People are buying your product based on the image of the product and customer reviews (if you have any) so you want to make sure your images stand out and show the quality they are vs the competitor.
Lower Cost Options
There are many inexpensive point and shoot cameras, some good ones averaging $160. Products to consider:
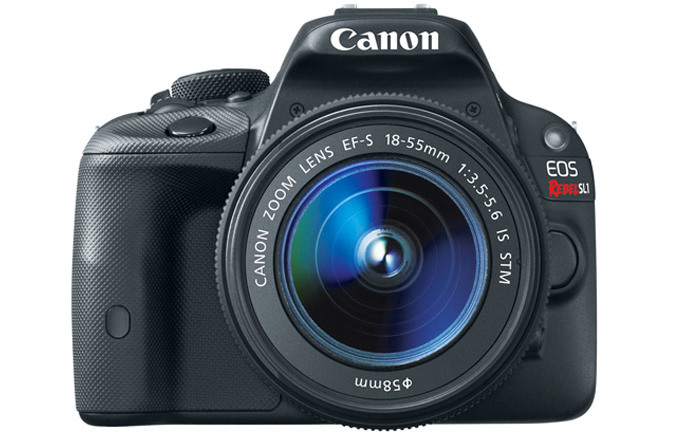
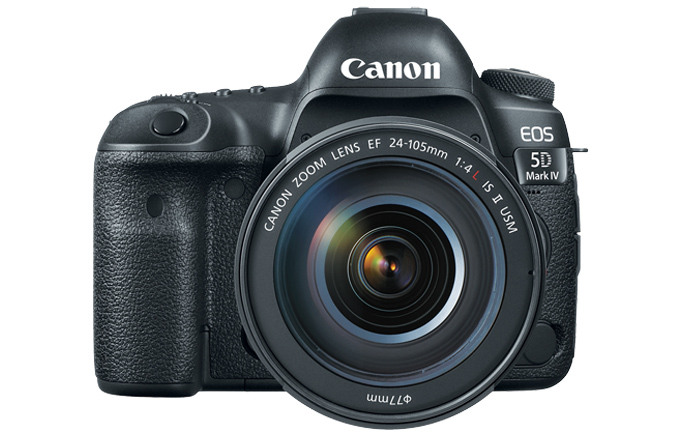
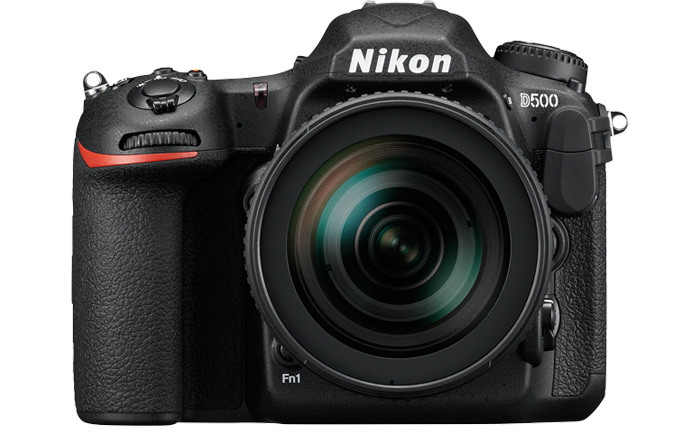
High-Cost Options
Professional-photography quality DSLR cameras have all the bells and whistles, but they have large price tags to match. Just remember that you will usually have to buy the body separate from any lenses. Products to consider:
Lenses
Stuff You Already Have/Free Options
If you have a smartphone or point and shoot, you probably already have a lens that will work for product photography. Products to consider:


Low-Cost Options
The cost of the lens depends on the type of camera you have. Purchasing lenses second hand from a pawn shop, on Ebay, or on any other site similar to eBay can be less expensive, just make sure you check it out thoroughly. Products to consider:
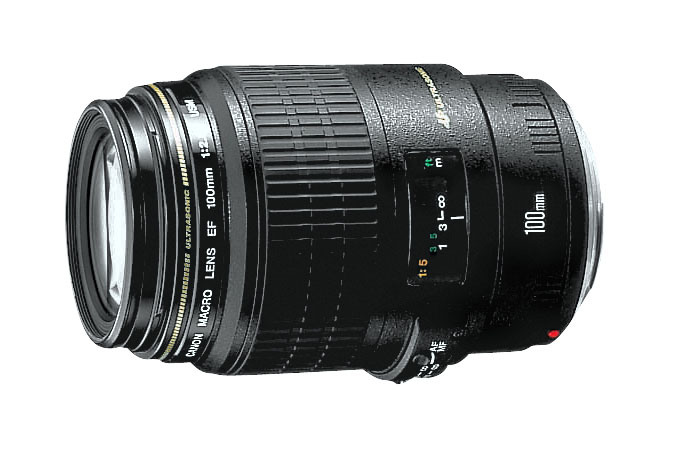
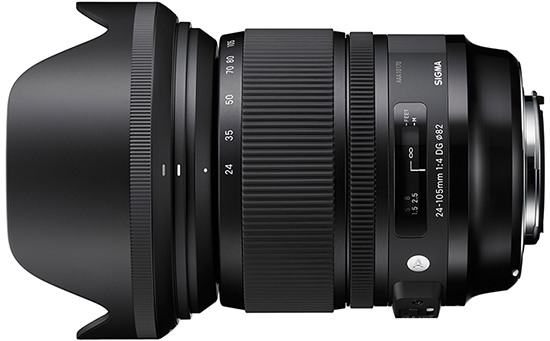
High-Cost Options
Lenses can be expensive. Even the most basic can run few hundred dollars. Zoom lenses and wide angle lenses can cost thousands. Products to consider:
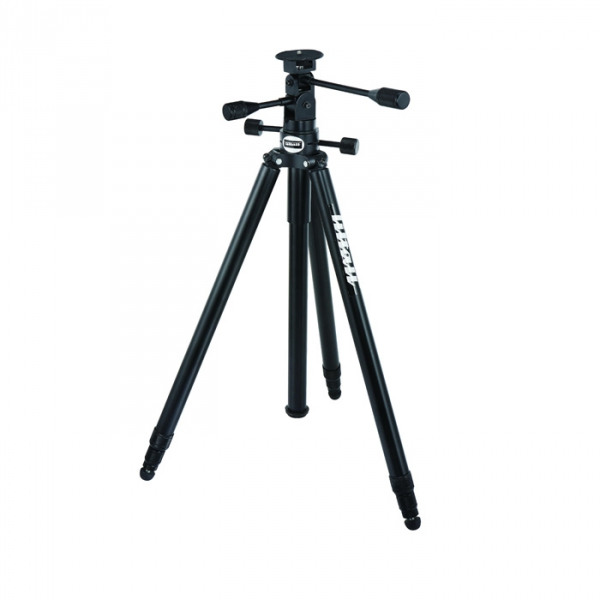
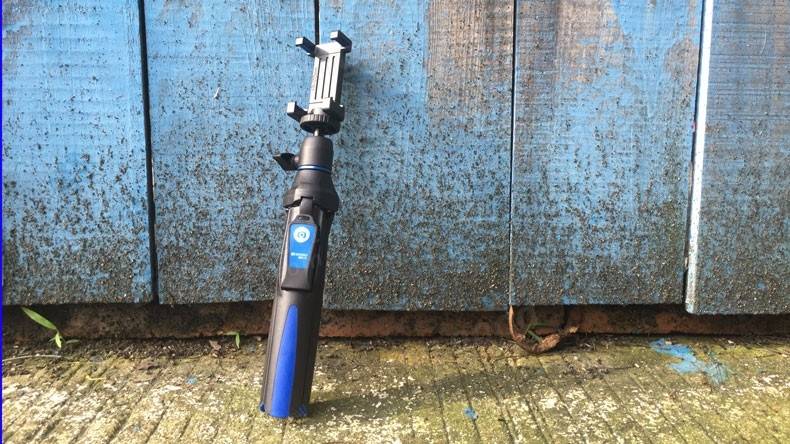
Tripods
After multiple attempts to take a quality photo by hand, I finally purchased a tripod and it made everything so much better. You don’t need a fancy “pivot-tilt-whatever” tripod but something of decent quality that is sturdy.
Stuff You Already Have/Free Options
You can use just about anything to stabilize your camera: a book, a wall, a table. Get creative and save some money. Products to consider:
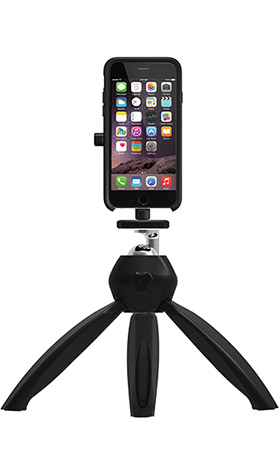
Low-Cost Options
Many places have basic tripods for around $30. If you buy used, though, make sure it has the shoe that screws onto the camera and clips in the tripod. All too often, that small piece is missing from used tripods. Products to consider:
High-Cost Options
If you have money to spend you can get completely outfitted tripods with high tech levels, braces for large lenses, and all kinds of cool gadgets – but it will cost you. Products to consider:
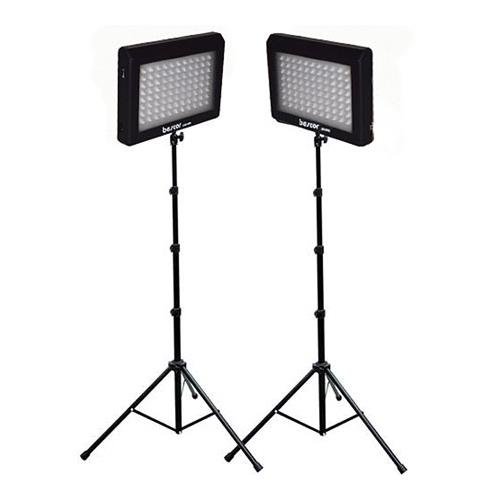
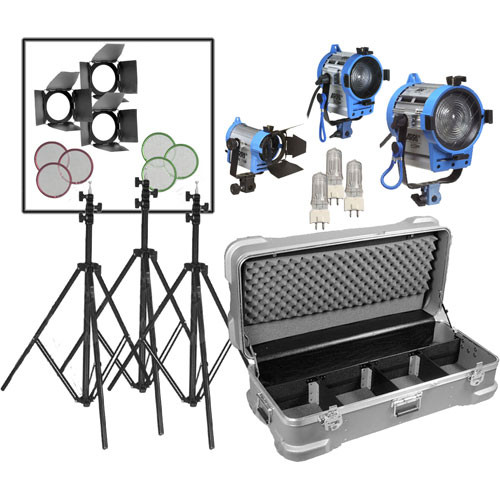
Lighting Equipment
This is where things start to get tricky, you want something in the 4000 Kelvin or higher range. Stay away from anything that has the words “Soft” in the name “Soft White” for example. These tend to be “warmer” bulbs that contain more red light than “cooler” blue light and skew image colors more. For reference: Natural Sunlight at noon is between 4000 and 6500 Kelvin and Jewelry stores usually use lighting between 4200 and 5500 Kelvin to show off their products. Another option that is great for front lighting is 2 remote controlled flashes (compatible with most DSLR cameras) with diffuser lenses.
Stuff You Already Have/Free Options
Your phone’s flash will provide fill light. A lamp or even a flashlight you provide fill light, but keep in mind fluorescent light draws out the red and ruddiness in skintones. Use a white poster board to reflect light if you need it. Products to consider:


Low-Cost Options
A flash attachment for your camera is around $100. You can also get some work lights from a hardware store for better lighting (the legs are usually adjustable and the light usually tilts). Products to consider:
High-Cost Options
Photography lighting is expensive. The lights and umbrellas are quite costly, even when purchased secondhand. A simple outfit will typically run you a few thousand dollars. Products to consider:

Other Useful Equipment
360° product spins are quickly becoming a popular choice for ecommerce sites. They’ve been proven to increase visitor engagement and provide the exact type of product experience that customers are missing while browsing online. In order to create these spins, your photo studio will need a turntable. Many photography turntables require a connection to a computer and automated settings for their accompanying software in order to operate, but Arqspin offers a simplified alternative.
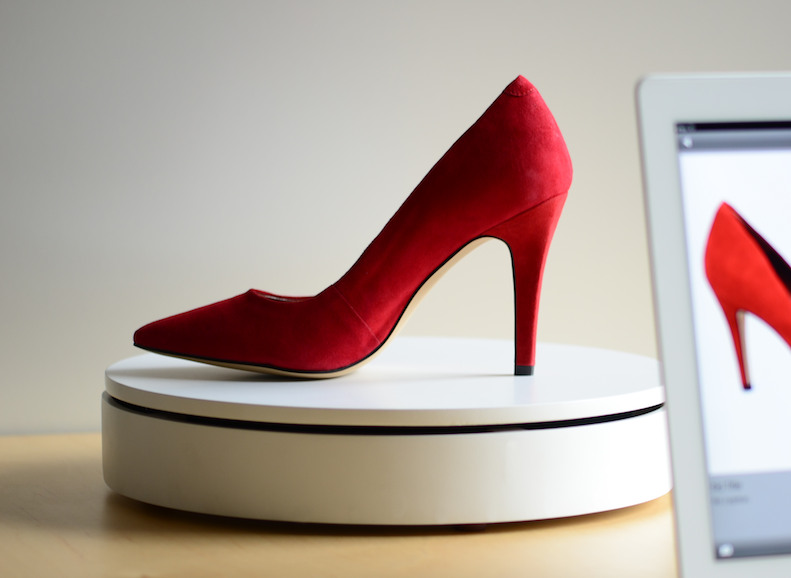
Arqspin Motorized Turntable Arqspin offers a variety of motorized turntables for products of smaller sizes and weights. With Arqspin’s 360° photography platform, it’s possible to create high-quality spins with any turntable. However, the Arqspin motorized turntable’s seamless compatibility with this platform makes it simple to create, upload, and embed complex product spins in just one minute.
Resources
- Lighting with Flashlights
- Should You Buy a Cheap Camera Lens or an Expensive One?
- On-The-Go Gear: My Favorite Accessories For Mobile Photography
- Letters to the Editor: Questions on Cameras and Lenses
- Best Photography Equipment For Bloggers
- Cell Phone Photography – Part 1: Capturing Images
Chapter 4: Setting Up Your Studio

You don’t need to spend a ton of money to set up a DIY photography studio. Save money by making or improvising much of your equipment. Identify the things you know you will need then decide what you already have, what you can improvise, and what you will need to purchase to get set up.
Preparation and Set-Up –Your set-up will depend on the subject of your photo shoot. For larger products, you’ll need an area where you can hang a backdrop. Smaller items can sit on a table with a backdrop or inside a light box. Light boxes are ideal for product photos, because the light is evenly distributed.
Lighting
Again, this depends on what you are shooting. A larger item in a studio setting calls for taller lights. A light box or simpler setting is appropriate for smaller products.
Angle of light
If your angle of light is off at all, you will have shadows and dark areas or light flares. Adjust lighting for the product you’re shooting. If your subject is casting a shadow on the backdrop, use back lighting. Use bounced light to softer direct light. Positioning one light to the left of the product and one to the right with another light providing back light (so they form a triangle) is a common lighting set up that works for products as well as portraits.
Hard/Soft Light
Hard light and soft light each have their place in photography. Hard light is more of a glare that casts a shadow with distinct edges. It picks up every detail and imperfection. Hard light sources: A lightbulb in a lamp without a shade, direct sunlight, direct flash, fluorescent lights overhead, and a spotlight.
Soft light is a little kinder. It is softer with shadows that feather at the edges and smooths over little imperfections. Origins of soft light include: An overcast day, sunlight filtering through a white sheer, light from a window facing north, a lightbulb in a lamp with a shade, light at sunrise or sunset, and light that is not direct.
Background Materials
Product photography often requires plain backgrounds, typically pure white backgrounds. Some people use a sheet, but it needs to be perfectly smooth and wrinkle free with a tight weave. The camera will highlight wrinkles, texture, and imperfections so find a tightly woven fabric or canvas. Used backdrops are usually pretty inexpensive.
Props
Most ecommerce sites like Amazon and Ebay discourage props in product photos. There are some exceptions though, just check the site’s guidelines. Any props you add must be properly lit and in focus.
Resources
- 12 Props That’ll Help You Up Your Blog Photography Game
- Here’s a Cheap DIY Tabletop “Photo Studio” That’s Great for Macro and Product Photography
Chapter 5: How To Photograph Your Products Perfectly

Scott has some great tips for nailing the perfect product photo and getting it added to your eCommerce website.
Light will make or break your shot. Watch for shadows and light flares. Aside from focus, that will be your biggest concern. Everything else will naturally fall into place. When taking photos of your product, try these pro tips:
Set up your backdrop.
Give yourself plenty of room all around the product so even if you shoot from other angles you can keep the backdrop behind the product. Many ecommerce sites require a white background so check their guidelines before posting.
Gather your equipment.
If you hold the camera to shoot you risk moving or shaking. A tripod will help prevent blurry images. Your lens will depend on your subject. Smaller products do well with a zoom or portrait lens; they pick up details. Experiment to see what looks best. Sometimes even the simple act of pressing the shutter release jostles the camera, resulting in a blurred photo. Use a remote trigger or use the timer on your camera to solve this problem.
Plan your shot.
You’ll need 3-7 photos of various angles, depending on your product. If you are shooting 10 products for a similar line, make sure you capture each angle for every product and get detail shots when applicable. Keep in mind, the camera sees more than you do. What looks good to your eye may not look so great in a photo so view the shots with a critical eye and an open mind. For instance, when shooting jewelry, it looks better if you can either put it on a form or model, or drape it over an elevated area like a pillow.
Adjust your lighting to ensure proper light distribution.
Take a test shot and adjust the product photography lighting or the object accordingly. Always look at the shot through the lens and scan the perimeter of the shot for problems like backdrop edges or other things in the shot that shouldn’t be there. Next, examine the product through your lens. Look for “bright” areas and other issues.
Keep in mind there are two different kinds of products:
Reflective Products
These products are made of materials that attract and reflect light. Examples of reflective products:
- Jewelry
- Glass
- Metal
Dark Products
Dark products are not as likely to reflect light, but sometimes they can throw a light flare so watch for that. Examples of dark products:
- Electronics
- Small Appliances
- Handbags
Resources
- Food Photography Basics
- Glass Photography
- Warning: Are You Making These 7 Common Mistakes in Your Apparel Photography?
- 5 tips for photographing beauty products
Chapter 6: Shooting Lifestyle Images

Lifestyle images can support your product through social media, category pages, and blog posts. These types of photos usually involve people or show the product in a natural setting. They are important because they help your customers imagine the product in their own lives.
Shooting these lifestyle images requires photography techniques that are somewhat different from product photography. These pro tips will help.
Watch your lighting. Make sure you backlight so you don’t have shadows behind your subjects.
Get a combination of posed, portrait and candid photos. This will give you a better selection.
Shoot loose (leave a lot of room around your subject) to allow for enlarging or cropping. Shooting tight limits what you can do what that photo.
Action shots shouldn’t scare you. Adjust your settings and encourage your subject to move as you shoot. It’s a great way to get some unique, fun, engaging photos.
Pay attention to detail. Get in the habit of checking body positionings such as arms that are too bent, a hunched shoulder, or head that is too tilted. If they are sitting or leaning, try to position them so that they don’t have creases in the flesh where it meets the edge (i.e. crease in the thigh when someone sits on a chair).
Resources
- 15 Instagram Marketing Tips to Spread Your Ecommerce Brand Like Wildfire
- TECH TIP: Getting the Shot with Corey Rich: Running Photography Basics
Chapter 7: Optimizing and Editing Images

Not all your photos will be perfect, but that doesn’t mean you can’t still use them. A little photo editing can go a long way. Depending on your editing skills, you can do anything from removing a smudge on the background to changing the background. A little optimizing and retouching will make your photos far more effective. And you don’t need a photography degree to make this work.
Photo Editing Software
When trying to learn photography, there is no shortage of photo editing software options in a wide range of skill levels from novice to pro. There are editors that are web based software you load on your computer, and even versions you can load on your smartphone. Products to consider:
- Adobe PhotoShop and Lightroom – Available by subscription for as low as $10 a month. There is a learning curve, but there is an abundance of online tutorials.
- PhotoScape – This free download gives you a wide range of basic editing tools and a few special features.
- Pixlr
Also Consider:
- PicMonkey
- Photo Editor Pro – Android App
- GIMP
Common Photo Edits
Preferably, you won’t need to do too much editing to your photos. However, you will likely have to do a few tweaks here and there. Some of the more common edits include:
- Cropping
- Color correction
- Layering
- Adding text.
When saving photos for a website or an online store, always use a descriptive keyword filename and use keywords in the alt text. These are a couple of SEO strategies that will helpore your customers find your products.
Below are 5 additional product photography tips from Elizabeth Waterman.
Resources
- Beautiful Product Image: 9 Tools To Help You Create It
- Conversion Optimization 101: Optimize Your Product Image to Sell
- TAS 171: 7 Product Image Tips For Higher Conversions
- 35 Helpful Photoshop Post-Processing and Photo Editing Tutorials
Are You Ready to Build a Powerful Brand?
Wow! That’s a lot of advice on marketing product through photography! A huge thanks to all the experts for their advice. Imagery and copy goes a long way into building a brand. What would Nike be without their iconic imagery?
Hopefully you now have everything you need to take unforgettable product images. Let us know in the comments if you have any questions.
About the author

Darren DeMatas
Social Activist, Entrepreneur, Ecommerce Investor, Agency Founder
Co-Founder at Ecommerce CEO and Orbit Local, Board Member at Three Grains of Rice Missions, Darren has an MBA in Internet Marketing and 10+ years of experience marketing retail, manufacturing, and Internet marketing corporations, 7-figure brands and startups online.


Subscribe to Our Newsletter
to Get Expert-Backed Tips Straight Into Your Inbox


